Showing posts with label mechanical. Show all posts

Friday, October 1, 2010

Fixing a Cordless Drill

DeWalt DW953 Drill
I have a DeWALT DW953 cordless drill and it's seen a lot of use over the last 15 years or so.

Recently, the speed selector / gear shifter broke (see picture to the right; small black part top center) rendering the unit useless.

The shifter mechanism had been growing stiffer and more difficult to use in the year or two prior to its failure.

Rather than throwing it away, I thought I'd try to fix it and get another 15 years of life out of it. Here's how I did it.

Summary
The factory part is no longer available for purchase, so I had to fabricate a part that would serve the same purpose using readily available material and a minimal set of basic hand and power tools.

Factory Parts?
Factory replacement parts are always a good option versus fabricating or hacking your own fix. It's easier and doesn't usually cost much. I started at DeWALT's parts page. From there to the DeWALT service net which allows you to find parts for this and other brands: Porter Cable, Delta, and Black and Decker. I found the exploded diagram.

DeWalt DW953 Drill Exploded Diagram
DeWALT DW953 Exploded Diagram

The broken part is #9, the "SHIFTER", and is no longer available. Probably because it was poorly designed and all the spare parts stock burned up a long time ago.

DeWalt DW953 Shifter
The Shifter

The shifter is a piece of plastic which engages a C clip (the curvy wire thing extending from the rectangular part 9 above) to move the shift collar in the drill. Part 10 is a detent spring that locks the shifter in the high or low position. You can see the C clip below and you can see the channel that part #9 rides in.

DeWalt DW953 Cordless Drill Shifter Repair
Note shifter wire (C clip) and channel for part #9
Shifter Details and Failure

The shifter is a piece of plastic with a channel in it, into which the C clip fits. The channel essentially broke in half as you can see below.

DeWalt DW953 Cordless Drill broken shifter
The shift selector split in half

Options and Solution

I could have used plastic glue to repair the part. I've used plastic glue before with some success. But I don't entirely trust it for high stress areas and the design was already weak when it was a solid piece of plastic. A glued piece of plastic might not hold well.

Epoxy can make strong repairs and may have been a good option, provided both halves and the wire C clip were all glued together with a big blob of the stuff. This would've strengthened the area and it may have survived for a long time. But not as long as metal.

Instead I chose to crudely fabricate a replacement out of aluminum. Any of us mere mortals without a CNC machine in the garage can replicate this work with basic hand tools.

DeWalt DW953 Cordless Drill Shifter Repair
Broken shifter at top, two-piece fabricated shifter in the middle.
Making a Replacement

I made the replacement out of two pieces of aluminum arranged in layers. The top layer slides in the original channel in the drill's body (below).

DeWalt DW953 Cordless Drill Shifter Repair
Channel where shifter slides. Some material had to be removed. 
The bottom layer (right) has a slot to hold the C-clip. The slot has to be only just wide enough to hold the C clip rigidly upright so it can shift the geartrain of the drill.

DeWalt DW953 Drill fabricated shifter
Top layer (left) and bottom layer with slot (right)
The top layer (left) has a relief cut to let the c-clip fully seat into the bottom half slot. I cut the slot in from the side as that was the simplest approach.

DeWalt DW953 Cordless drill fabricated shifter
Bolted together
The layers are bolted together. I used a tap to make threads in the bottom layer. A bolt with two nuts serves to hold the pieces together and provide something to grab to select the drill's speed.

DeWalt DW953 Cordless Drill Shifter Repair
Finished and installed

I also had to remove some material from the drill body, specifically the channel in which the part slides. Otherwise it was a pretty straightforward process.


The Results

How does it work?  The first iteration didn't work well as I positioned the knob/bolt in the wrong spot.  The second time around I got it right. Shifting has never been smoother.

Which is good but also bad. There's no longer a spring to make the shifter click and stay in place. It slides so easily that the shifter will slide forward and backwards just with gravity.

I'll figure out a fix for that one of these days... But at least I have my drill back.

Batteries

I'm due for new batteries, however. I am thinking of getting rebuilt battery packs rather than buying new. I looked around and I think I'll go with Voltman Batteries. We'll see.

Friday, June 26, 2009

Fixing a heat gun better than before

This heat gun was destined for disaster! Followed by a simple fix; I'm not a huge fan of fixes that require machinist skills. Partly because I don't have the skills or equipment but, also, I'd rather share simple fixes that anyone can implement so that more stuff is diverted from destination Dump.


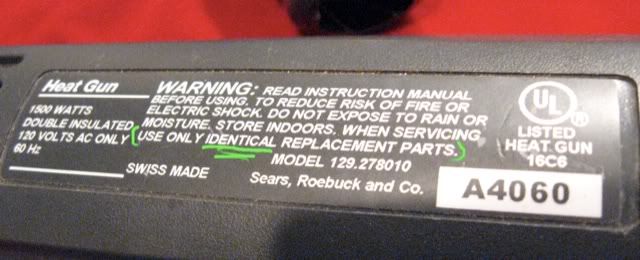
I bought this über-fancy Craftsman heat gun a few years ago for heat shrink tubing since using a cigarette lighter was a really sucky tool for the job of applying heat. And of course, I couldn't possibly get the low end heat gun like my wife did for her crafts. No, I had to get the heavy duty version. It even says INDUSTRIAL on the side, so it must be good! (It is at this point that we roll our eyes...)

After a couple months, I dropped it and the heat control dial ceased functioning properly. It felt like something broke off inside. That really sucks for a $110 heat gun.

I could've lived with it stuck at one (wrong) heat setting. Or, I could've opened it up and set the internal potentiometer to a more usable setting but left it non-adjustable. Or I could've simply glued the broken bits together to restore it to original condition. But what fun would that be??

I suppose most people, faced with an expensive, broken heat gun, wouldn't have thrown it out at this point. Maybe they would've had it repaired, or ordered replacement parts, I don't know. That isn't really the point. By not only fixing it, but making it better than it was before, there's a good guarantee the thing will last a long time and stay out of the trash and give the owner their money's worth out of it. So hopefully I'll inspire you to seek to fix and improve your broken widgets and wingdings.

Sometimes stuff we buy isn't engineered very well, and this heat gun's temp dial was a great example. The large flat disc was molded with a spindly little shaft coming out that engaged with the potentiometer. When I dropped the heat gun, that shaft snapped clean off because it had no real reinforcement at it's base. Chances are, Sears sells replacement parts but I'd wager they'd be just as prone to break.

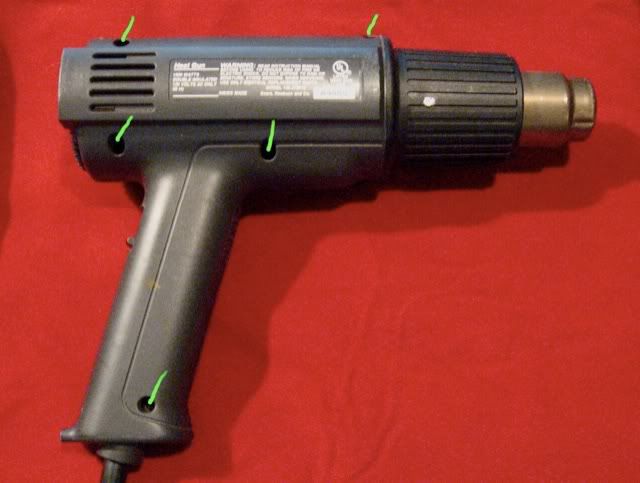
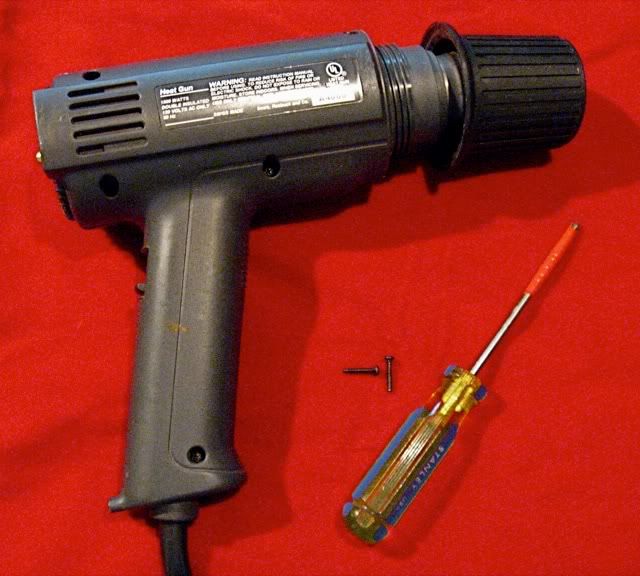
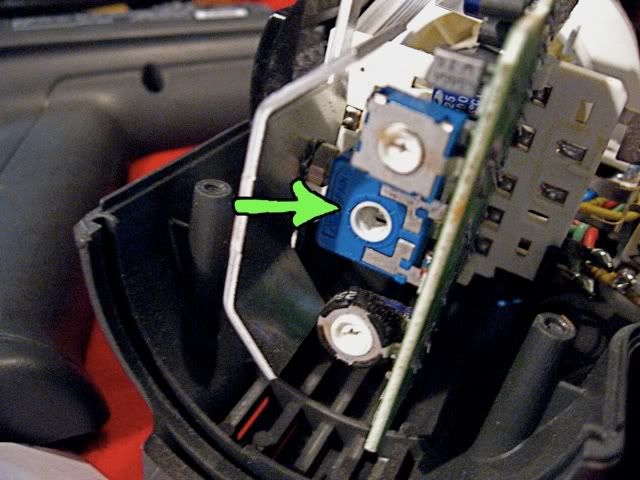
So I took it apart. There are a few screws on one side that come out with a Phillips screwdriver. Easy enough. You have to unscrew the heat shield before you can separate the halves of the heat gun. Once you do pull it apart you see some electronics, a little motor to drive the fan, the heat dial, and some other goodies. What I originally found was the broken shaft (I could hear it rattling in there before I took the thing apart).

The shaft had parallel flats on the end where it engaged the potentiometer.

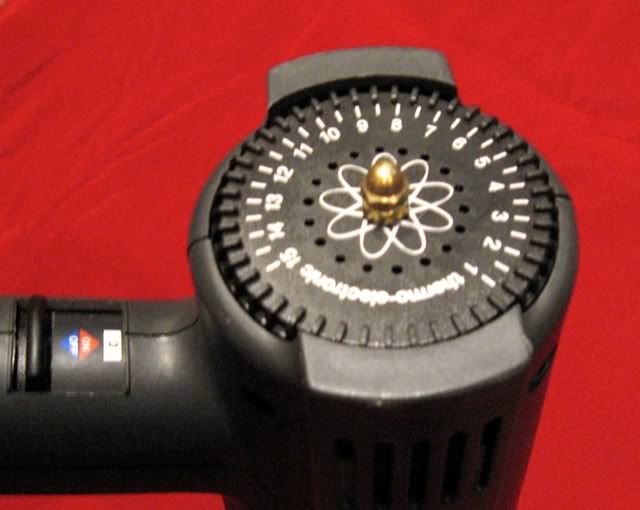
So instead of gluing the plastic shaft back in place, I decided to use a piece of threaded brass rod clamped to the dial with brass nuts. I chose brass because it is very easy to work with. I'd need to file down the flats and cut it to length. Brass is sufficiently sturdy and is kind of cool looking too.

I drilled a hole through the center of the dial, cut the brass rod to approximate length, then filed the flats by hand to fit into the potentiometer. Then assembled the dial, rod, nuts.

Then I put the dial back in place in the housing to test fit rod length. After adjusting for length using the nuts, I cut off the exposed end just long enough to put a fancy brass cap nut on it so it looks nice and holds the outer nut in place. A lock washer on the inside nut would've been a great idea. I've been using it for a couple years since the fix, it continues to work beautifully, and I am confident it'll hold up to all sorts of abuse.

Food for thought: another option would've been to use JB Weld or plastic compatible epoxy to reattach the shaft and also add reinforcement at the base. I like the brass better, but that's just me.