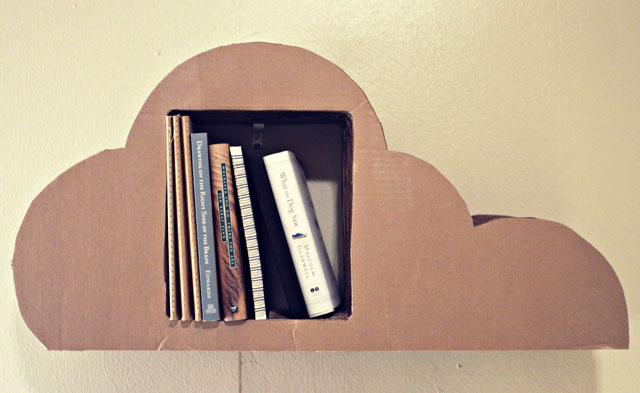
If you have--or can find--some scrap 2x4, 2x3, plywood, you can make some convenient, sturdy, DIY garage shelves. Or you can buy the wood new. I confess I had to use quite a bit of new wood but made the most of my scraps, too.
 |
| Ah, wonderful shelf space for my gadgets and camping gear... |
DIY Garage Shelf Design
The design I've been using for several years utilizes 2x4 vertical members in front to support the shelves, 2x3 frames for the shelves, and cheap 1/4" pressboard surfaces on top of the frames. The frames are secured to wall studs in back and the 2x4 verticals in front.
 |
| The DIY garage shelf design |
I put a set of shelves in several years ago and they've held heavy Jeep parts, gardening supplies, and myriad other items without any issues.
Disclaimer: of course you're responsible to make sure of the safety and viability of the design and your installation as with any DIY project.
The pressboard will deform over time if the weight on it is above about 50 lbs. If that matters to you, thicker pressboard or plywood will support more weight without deforming but it's more expensive. You might try 1/2" or even 3/4" thick material.
Garage Shelf Construction
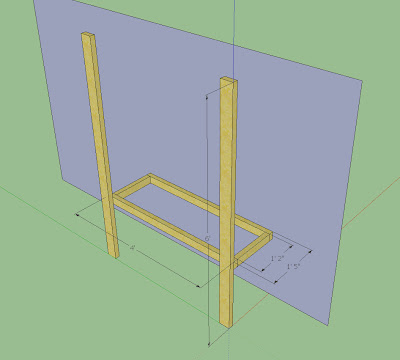 |
| Two 2x4 uprights supporting a single shelf secured to wall studs in back |
First, determine the depth of the shelves. In my case, about 17" was acceptable, with an extra 1.5" for the width of the studs in front of the shelves.
Subtract the width of your 2x3 boards, a total of 3", from the shelf depth to get 14" in my case. That's the length of the shorter pieces.
 |
| Measurements for the shorter shelf pieces |
I made the longer pieces 4' (48") as 2x3 and pressboard comes in 8' units.
Now build two shelf frames, the lowest and the highest shelves, then measure and attach to the wall at the desired heights.
I constructed the frame with 2-1/2" or longer wood screws and secured the frame to the wall studs with 3" wood screws.
At this point you can now attach your 2x4 studs. At the start or end of your shelving, place the 2x4 flush with the end of the shelf.
 |
| Front view. 2x4 is flush with shelf edge |
If you have two shelves side-by-side, a single 2x4 upright is used to support both shelves, just put the 2x4 in place to overlap two shelves.
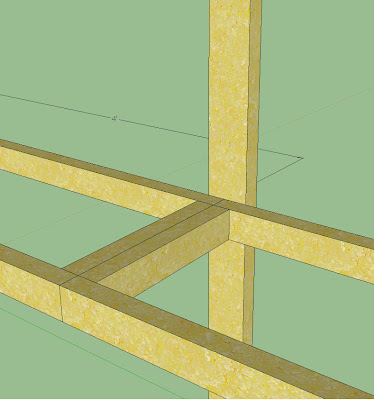 |
| Back view; note two shelves supported by single 2x4 |
 |
| Detail shot of the installation; single 2x4, two shelves |
Cut the pressboard or plywood panel to fit the shelf, in my case 17"x48". Secure it with 1" wood screws or longer. I used self-tapping flat head 1-1/2" screws.
After you've gotten the first two shelves and the two uprights in place, it's easier to add more shelves and uprights. After awhile you'll have a set of nice, useful, sturdy garage shelves. Enjoy!