
 Sometimes the backlighting on an older stereo receiver display will burn out. You can send it to Goodwill but then what kind of green fixit superhero would you be? Instead, you can easily replace the lamp and get years' more service. You can even try an improvement to increase the life of the bulb.
Assuming you have some very basic electronics safety and repair skills, this should be pretty straightforward. You'll need a screwdriver, soldering iron (and soldering skills), flux, electronics solder, possibly some small wire, a multimeter, and a wire cutter and stripper.
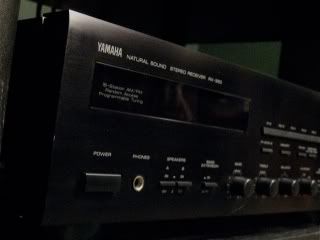
 A couple months ago I was in the Goodwill again looking for vintage audio equipment, one of my (myriad) hobbies and spied an early 90's Yamaha stereo receiver that was marked as broken, as is, and priced cheap. So I thought I'd test it.
I connected some of the ubiquitous cheapo speakers nearby, turned the volume all the way down, and plugged it into the wall. When it powered up, the speaker protection circuit relays went "click" indicating all's well. (Most halfway decent receivers have protection circuits). When I turned up the volume, lo and behold I got sound.
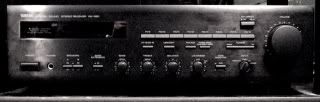
 The display was blank and black, however. I bought it, took it home, and pulled the cover and remove the mini "grain of wheat" bulb from the display housing. It was was silvery-black -- burned out. These small bulbs are available from a variety of sources like Radio Shack, Tower Hobbies, and one of my favorite electronics stores, All Electronics. They come in several voltages and some machines use wedge bulbs or other bulb types and you can typically get these too. If not you can find somethng close in size.
Next step is to solder in the lamp. If you get a lamp that comes with longish wire leads it is easier. If the wire leads aren't insulated it might be wise to put shrinkwrap over them and shrinkwrap over the base of the bulb. With the bulb connectted and hands away from the stereo's guts, power up and make sure it lights. If so, unplug, power off, reinstall the bulb, and replace the cover and you're done.
For the advanced types, if you find the voltage on the leads for the bulb is at or above the voltage rating on the lamp, you could install a small resistor inline with the bulb which will reduce voltage. It'll be dimmer, but hopefully run a little cooler and last longer than the original.
 When I finished up with the Yamaha I enjoyed it for several days. It was really an excellent stereo, good imaging, soundstage, and that Natural Sound that Yamaha was known for which offers a high degree of timbral realism! Huh? Look, it sounded good, ok? :)
I then sold it to a nice fellow for a few bucks more than I paid, so he ended up with a deal, I ended up with a little money for my hobbies, and the machine will no doubt serve him well for years to come. I didn't manage to get a picture of the unit after the fix so you'll just have to trust me.
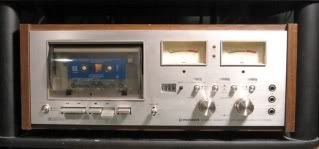
I also performed the same fix on an old Technics receiver I've had laying around, as well as an old Pioneer CT-F8282 cassette tape deck. I really love simple fixes!
Can you save me the trouble of borrowing a voltmeter and tell me what the voltage was on your lamp. I happen to have the same receiver. Thanks
ReplyDeleteI would love to... But I sold the receiver a few years ago. :(
Delete14 vac
ReplyDelete