

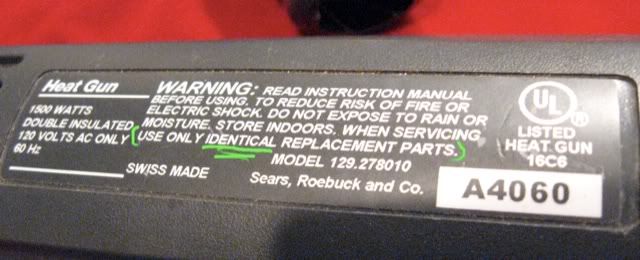
I bought this über-fancy Craftsman heat gun a few years ago for heat shrink tubing since using a cigarette lighter was a really sucky tool for the job of applying heat. And of course, I couldn't possibly get the low end heat gun like my wife did for her crafts. No, I had to get the heavy duty version. It even says INDUSTRIAL on the side, so it must be good! (It is at this point that we roll our eyes...)
 After a couple months, I dropped it and the heat control dial ceased functioning properly. It felt like something broke off inside. That really sucks for a $110 heat gun.
I could've lived with it stuck at one (wrong) heat setting. Or, I could've opened it up and set the internal potentiometer to a more usable setting but left it non-adjustable. Or I could've simply glued the broken bits together to restore it to original condition. But what fun would that be??
I suppose most people, faced with an expensive, broken heat gun, wouldn't have thrown it out at this point. Maybe they would've had it repaired, or ordered replacement parts, I don't know. That isn't really the point. By not only fixing it, but making it better than it was before, there's a good guarantee the thing will last a long time and stay out of the trash and give the owner their money's worth out of it. So hopefully I'll inspire you to seek to fix and improve your broken widgets and wingdings.
Sometimes stuff we buy isn't engineered very well, and this heat gun's temp dial was a great example. The large flat disc was molded with a spindly little shaft coming out that engaged with the potentiometer. When I dropped the heat gun, that shaft snapped clean off because it had no real reinforcement at it's base. Chances are, Sears sells replacement parts but I'd wager they'd be just as prone to break.
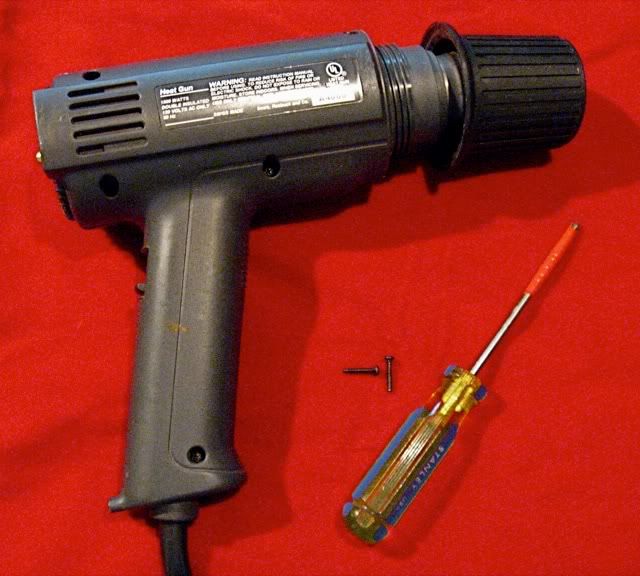
 So I took it apart. There are a few screws on one side that come out with a Phillips screwdriver. Easy enough. You have to unscrew the heat shield before you can separate the halves of the heat gun. Once you do pull it apart you see some electronics, a little motor to drive the fan, the heat dial, and some other goodies. What I originally found was the broken shaft (I could hear it rattling in there before I took the thing apart).
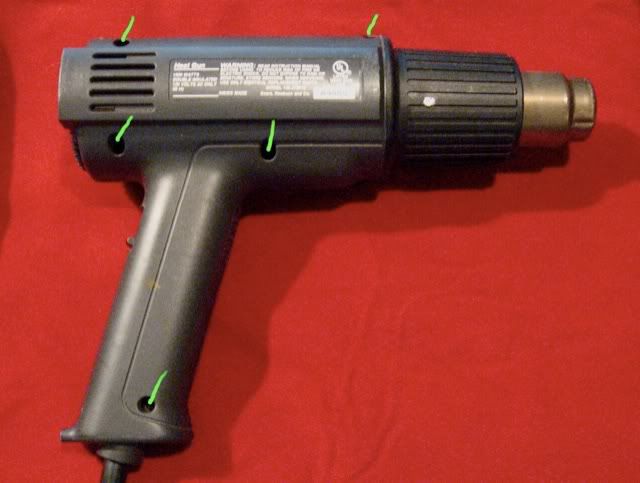

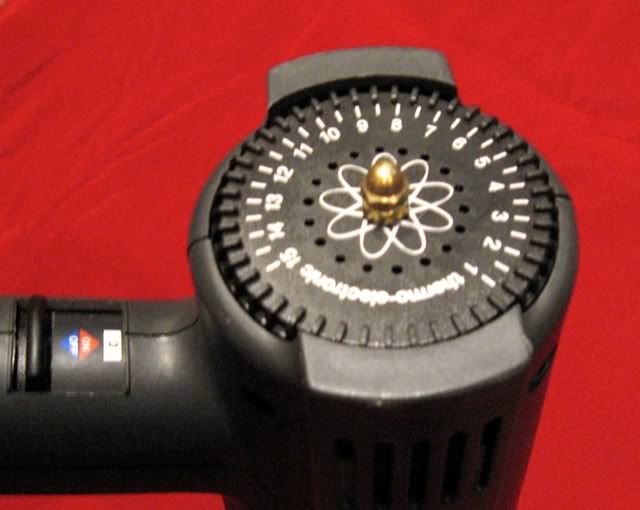
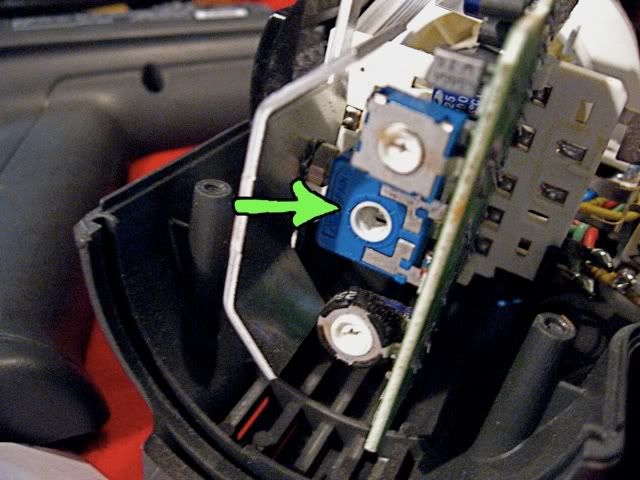 So instead of gluing the plastic shaft back in place, I decided to use a piece of threaded brass rod clamped to the dial with brass nuts. I chose brass because it is very easy to work with. I'd need to file down the flats and cut it to length. Brass is sufficiently sturdy and is kind of cool looking too.
I drilled a hole through the center of the dial, cut the brass rod to approximate length, then filed the flats by hand to fit into the potentiometer. Then assembled the dial, rod, nuts.


Food for thought: another option would've been to use JB Weld or plastic compatible epoxy to reattach the shaft and also add reinforcement at the base. I like the brass better, but that's just me.
Great fix! Making an improvement as part of a fix is always satisfying. I'm a downhill biker, and whenever something breaks on my bike, I replace it with something sturdier - hopefully prolonging the time it takes before something new breaks.
ReplyDelete